The tournament is three weeks out, half your roster hasn't responded to your "what size are you?" text, and your supplier just emailed asking for a finalized size breakdown due tomorrow. You guess. You order. Two weeks later, three jerseys are swimming on your smallest anglers, and your biggest guy is stuffed into a shirt that won't zip.
This is a planning gap. Most guides on custom sportswear size ratio treat every team the same, ignoring the reality that fishing rosters mix adults and kids, scatter across different lakes and schedules, and rarely fit neat size distributions. You need a repeatable system for custom fishing jerseys bulk order planning that accounts for missing measurements, mixed age groups, and supplier quirks. You get a copy-paste template, real supplier scripts, and an 18-person case study you can mirror today.
The Real Pain Points Behind Every Fishing Team Sizing Nightmare
Sizing chaos in fishing team apparel orders almost always traces back to two failure modes: too little data creates blind guessing, and too much informal back-and-forth creates coordination drag that eats your deadline. This is a process problem.
Signal #1: The Missing Measurement Problem
If more than 20% of your roster hasn't confirmed measurements by the week before your order lock, you're planning blind. This is the most common trigger behind bad size breakdowns for custom sportswear size ratio decisions. Common causes:
Scattered rosters: members fish out of different lakes, states, or time zones, making in-person measuring impossible
Mixed age groups: youth vs adult fishing jersey sizes require different charts entirely, and parents often estimate rather than measure
No standardized collection method: texts, group chats, and verbal guesses replace an actual sizing chart template for apparel orders
Signal #2: Coordination Overhead With Suppliers
The opposite problem hits organizers who over-communicate without structure. Symptoms include:
Repeated back-and-forth emails with your custom fishing team apparel supplier because the size breakdown keeps changing
No one owning the final numbers: the coach thinks the manager confirmed sizes, the manager thinks the parent rep did
MOQ pressure forcing rushed decisions before data is actually clean
Operational Pain Points That Make It Worse
Manual data entry errors: a "L" typed as "XL" derails an entire size bucket
Multiple disconnected tools: texts, spreadsheets, and supplier forms that don't sync
Fishing team Supplier size chart discrepancies: one brand's Medium runs like another's Small
Loss of visibility: nobody can say, at a glance, who's confirmed and who hasn't
What to Track Before You Order
% of roster with confirmed measurements
# of youth vs adult entries still unresolved
Days remaining before supplier deadline
Historical return/exchange rate from past orders
The real issue is whether your data collection process can keep pace with your deadline.
Collect Sizing Data and Calculate Per-Size Quantities by Team Composition
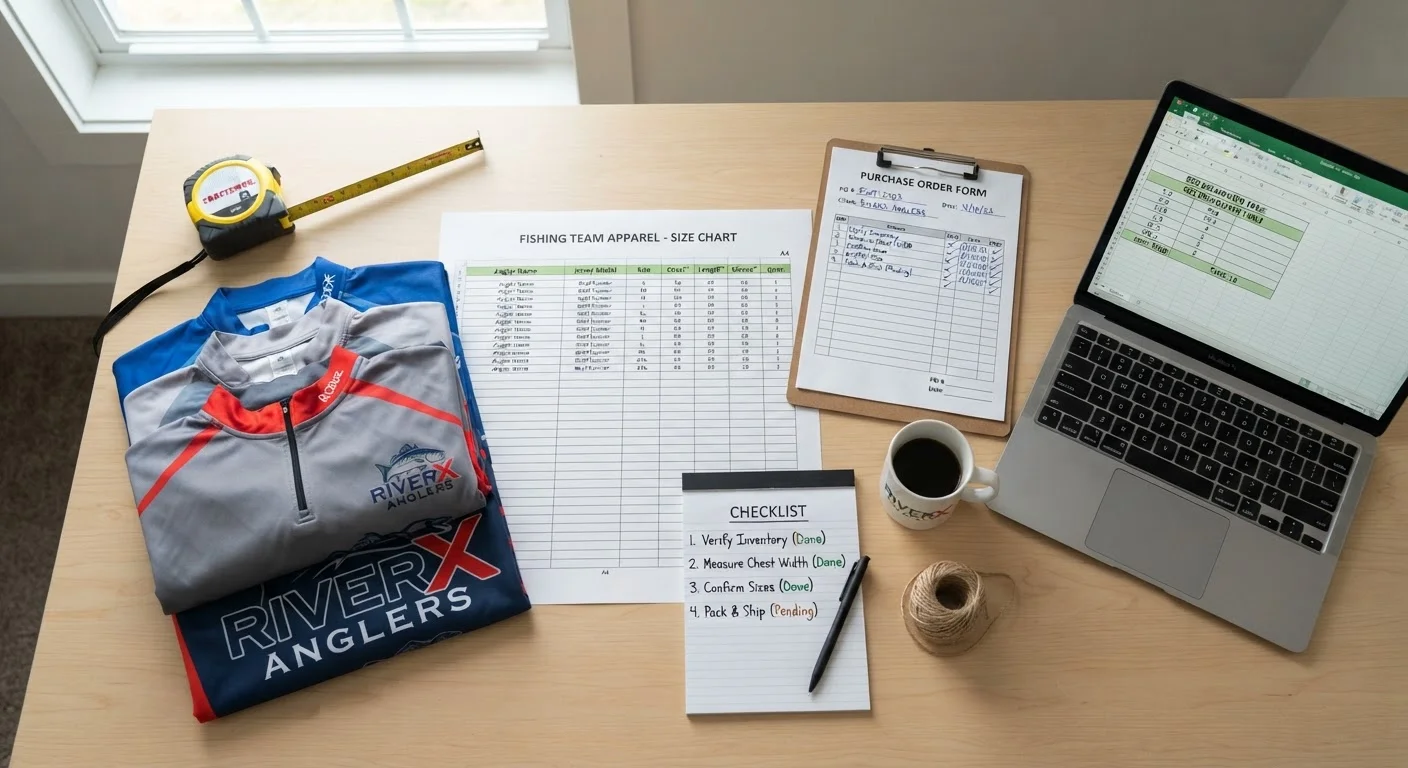
Nine steps separate a chaotic roster from a purchase order your supplier can execute without a single follow-up email. Skip any of them, and you're back to guessing.
Step 1: Segment Before You Collect a Single Measurement
Don't treat your fishing team as one uniform group. Break it into composition segments first:
1.Men's anglers: 26
2.Women's anglers: 18
3.Staff/coaches (unisex): 12
Each segment gets its own fit category and, often, its own garment list. Youth vs adult fishing jersey sizes run on different charts, so mixing them in one tally guarantees errors.
Step 2: Build a Master Sizing Matrix
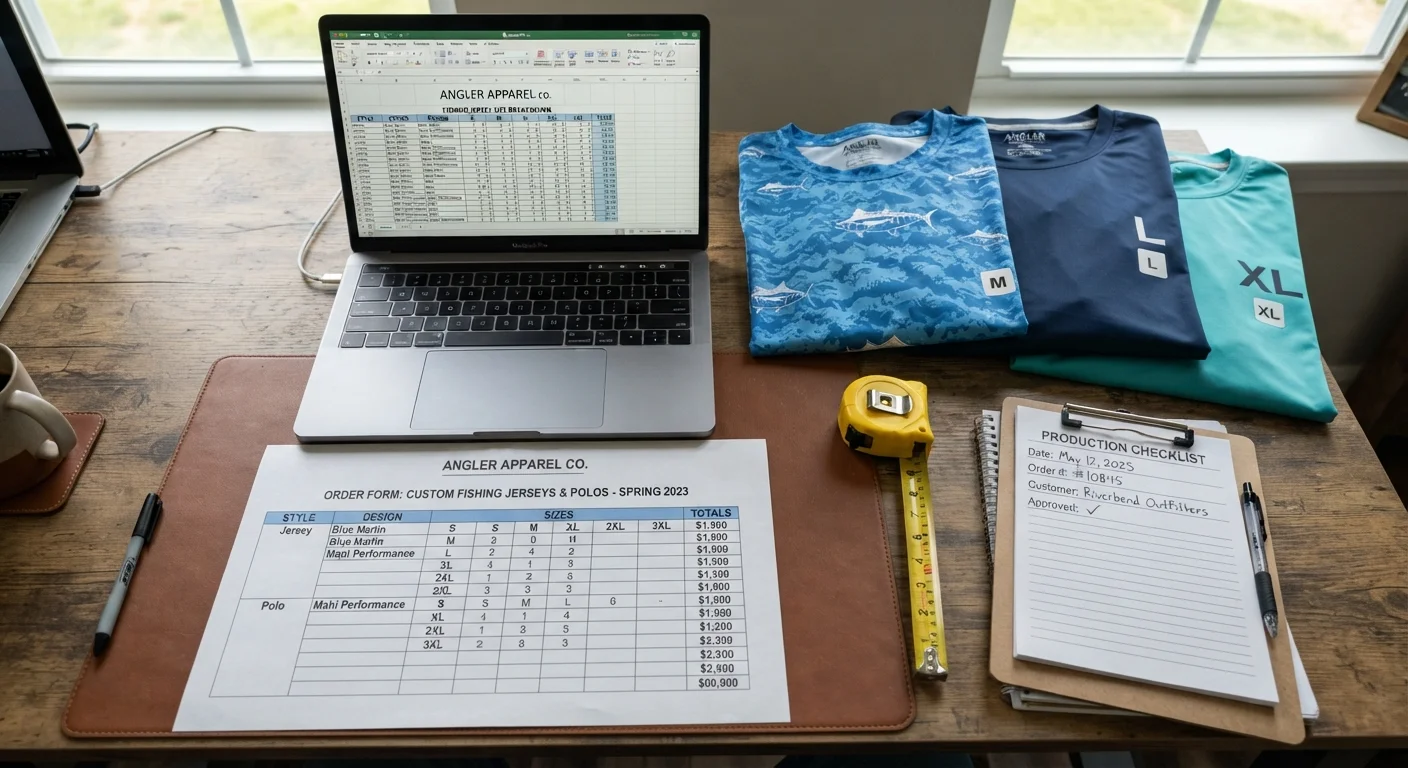
Create one spreadsheet with columns for name, role, category, garment type, size, and fit preference. This becomes your size breakdown template for apparel orders, reusable for every future tournament, not a one-time scramble.
Step 3: Collect Real Measurements, Not Guesses
For tops, measure chest circumference and body length. For bottoms, measure waist and inseam. Store everything in one place. A shared Google Sheet works better than scattered text threads. Measuring team members for custom apparel works if the data lands in one place.
Step 4: Match Measurements to the Supplier's Size Chart
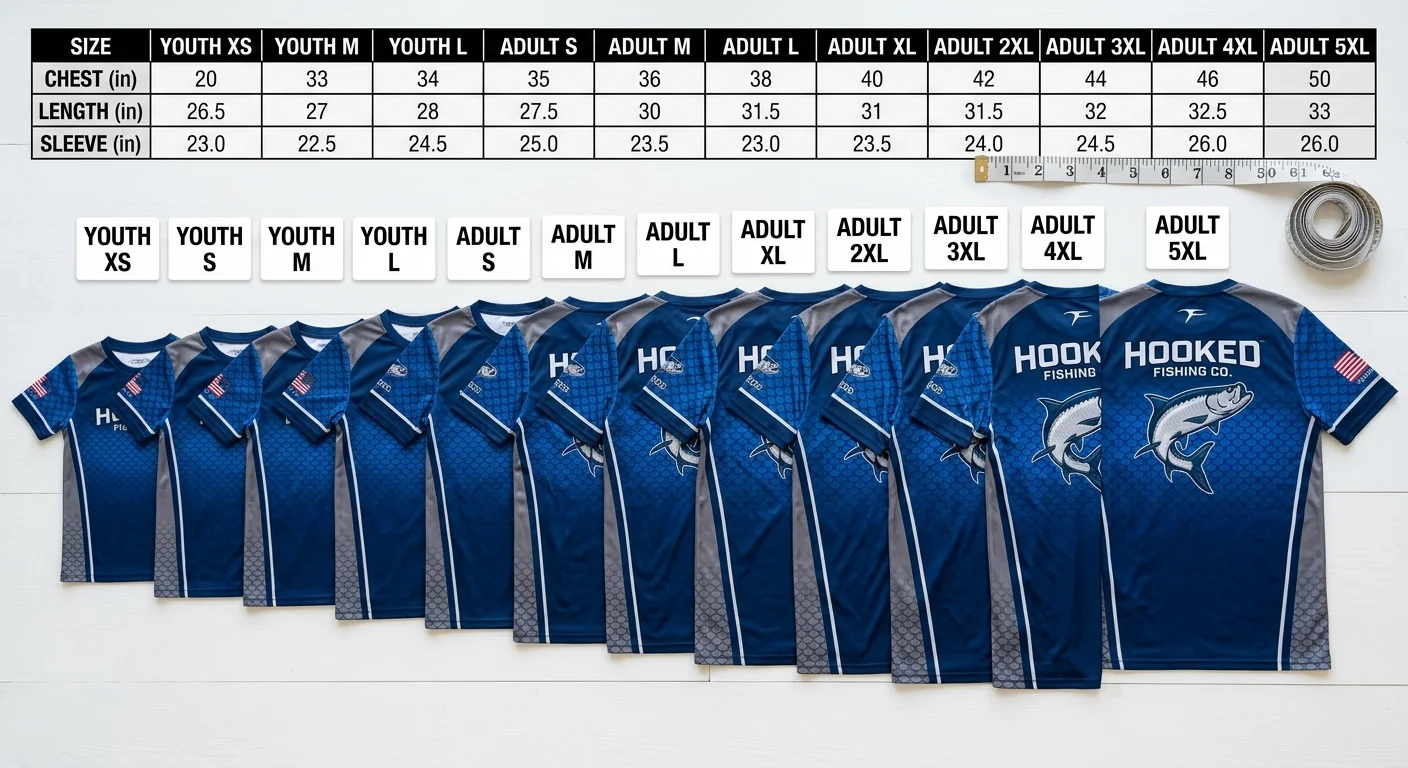
Every manufacturer's fishing team uniform sizing chart is different. A typical jersey chart looks like:
S: chest 34–36"
M: chest 38–40"
L: chest 42–44"
XL: chest 46–48"
If someone falls between two sizes, size up. Athletic fits need room to move on the boat.
Step 5: Test Before You Commit to Bulk
Order 2–3 sample sizes before finalizing sublimated fishing shirts size chart decisions. Pick testers from the small, mid, and large range of your roster. If multiple testers say "L fits like M," shift your entire mapping before placing the full order.
Step 6: Tally and Apply Ratios
Count selections by segment. For example, 44 players' jerseys gave this distribution: XS:3, S:9, M:14, L:11, XL:6, 2XL:1. Turn this into a repeatable custom sportswear size ratio formula. A common adult mix runs S:1, M:2, L:2, XL:1 (6 total parts). For 100 people, that gives S ≈17, M ≈33, L ≈33, XL ≈17.
Step 7: Add Buffer Stock
Add 1–2 extra units to your highest-velocity sizes (M and L) to cover late registrants and exchanges. For a 60-person team: M, L, and XL get +2 each; S and 2XL get +1 each.
Step 8: Run a Pre-Submission QA Check
Scan the sheet for blank cells, duplicate names, and improbable entries (a youth marked 3XL, for example). Pull a pivot table to reconfirm totals per size before anything goes to the supplier.
Case Example: Team Apparel Size Distribution in Action
Men's jerseys (26): S:4, M:10, L:11, XL:6, 2XL:2. Women's jerseys (18): XS:2, S:7, M:9, L:4. Staff polos (12): S:2, M:6, L:6, XL:3, 2XL:2. That's your finalized bulk apparel order planning sheet, segmented, buffered, and ready for the supplier's PO.
Reusable Size Collection & Allocation Template Schema
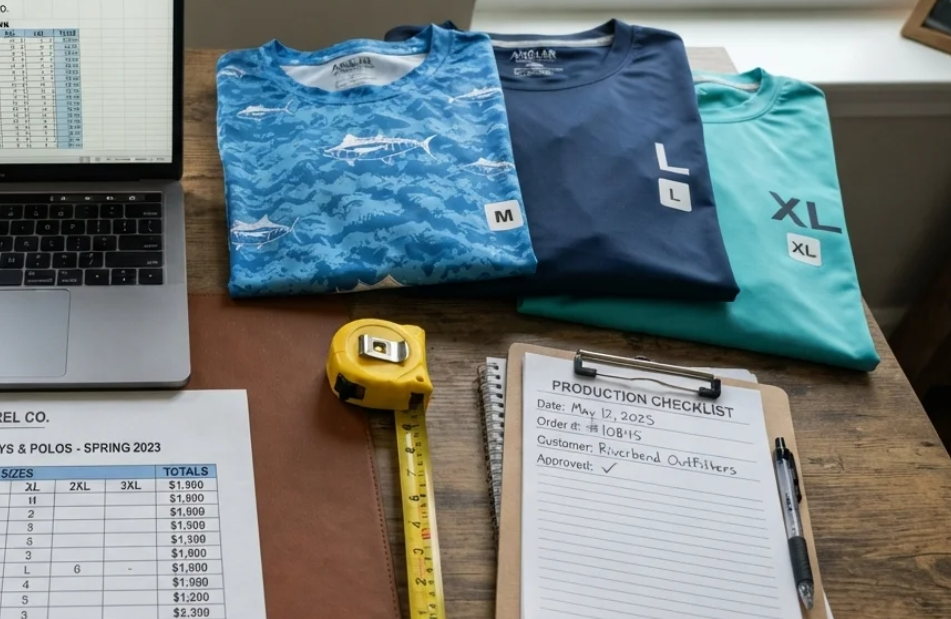
Most teams build a sizing spreadsheet once, use it, then start from scratch next season. That's wasted work. A proper template gets saved, reused, and updated year over year — not rebuilt from scratch every time you plan a bulk apparel order.
Here's the structure that makes your size breakdown template reusable.
Header Fields (Set Once Per Team)
Your template's top section stays fixed across seasons:
Template ID: a name you'll recognize later, like
BASSTEAM_ADULT_JERSEY_F25Garment type: jersey, hoodie, polo, waterproof jacket
Size system: letters (S/M/L/XL) or numeric
Roster segment: adult, youth, staff — each gets its own template
Season tag: so you can compare Fall 2025 orders against Spring 2026
Default supplier profile: the sizing chart from whichever supplier you're using this cycle
Per-Size Line Fields
Each size gets its own row with:
1.Size code (S, M, L, XL, 2XL)
2.Sort order (so reports always display sizes in the right sequence, not alphabetically)
3.Default ratio — the proportion this size normally represents in your roster (e.g., M = 0.30, L = 0.30, S = 0.15)
4.Pack quantity — how many units your supplier bundles per case, since most suppliers round to case packs, not exact counts
Allocation Profile Fields
This layer turns ratios into actual order quantities:
1.stock %: add 10–15% buffer on your fastest-moving sizes (typically M and L) to cover late sign-ups
2.Rounding increment: if your supplier ships in cases of 6, round every size total up to the nearest 6, not the nearest 1
3.Min/max per segment: set a floor so your smallest size doesn't get rounded to zero, and a ceiling so no single size eats your whole MOQ
The Formula That Ties It Together
units per size = (roster_count × size_ratio) + safety_stock_units
rounded to nearest case_pack_increment
Run this once, save the template, and next season you just update the roster count. The ratios, buffers, and rounding logic stay intact. You stop rebuilding your custom sportswear size ratio math from scratch every single order cycle.
Supplier Communication Scripts for Size Chart Confirmation and Sign-Off
Your spreadsheet is clean. Your ratios are calculated. None of that matters if your supplier interprets "Large" differently than you do. Most bulk apparel orders break down right here — during the handoff, not during data collection. You need scripts that force a written confirmation, not a verbal "yeah, looks good."
Script 1: Requesting Feasibility Confirmation
Send this before you finalize quantities:
Subject: Size Chart Confirmation – [Team Name] Fall Order
Attached is our proposed fishing team uniform sizing chart for [garment type], sizes XS–2XL. Please confirm:
1. These measurements match your production standard for this style.
2. Any sizes in our range that run tight or long compared to standard.
3. Your cutoff date for changes before cutting begins.
This forces the supplier to flag discrepancies before you're locked in, not after 30 jerseys arrive mislabeled.
Script 2: Locking the Final Version
Once samples check out, get written sign-off:
Subject: Final Size Chart Sign-Off – [Team Name], Order #[XXX]
We confirm the attached Size Chart v2 as final for this production run. Please reply confirming your team will cut and QC against this version only, with no substitutions.
Save every reply. If a dispute comes up over fit later, you have a paper trail, not a memory.
Script 3: Resolving Discrepancies Fast
If the supplier flags an issue, don't let it stall your timeline:
Thanks for catching this. Please send your recommended adjustment for [specific measurement] and confirm the tightest tolerance you can guarantee in bulk. We'll respond within 24 hours so we don't delay your production slot.
What Every Script Needs
1.Style or garment code — even a simple name like "Adult Jersey V1"
2.Size range covered (S–2XL, youth S–adult XL, etc.)
3.Version number — Size Chart v1, v2, v3
4.Effective date and which PO it applies to
5.A signed confirmation line , even a one-sentence email reply counts
Fishing teams that skip this step are the ones re-explaining sizing over three separate email threads while the tournament clock runs out.
Fishing-Team-Specific Sizing Pitfalls to Avoid
Every team order dies the same way. One teammate guesses "medium" when he's actually a large, and nobody catches it until the shirts arrive. That single guess is the most common failure mode in fishing gear customization, and it's preventable with the right measurement habits.
Chest Measurement Is Where Most Orders Go Wrong
Skip the "usual size" question. Have every teammate measure their chest 1 inch below the armpit , at rest, without flexing, using a soft tape. This one number determines whether your entire size breakdown holds up.
1.Take garment-flat measurements. Lay an existing shirt flat, measure seam-to-seam at the chest, then compare that number to the brand's flat specs. Skip the size tag.
2.Double-check the Large boundary. Most adult male anglers land right at this line on tournament fishing apparel, so a small measurement error here throws off your biggest size bucket.
3.Build in ±1 inch of manufacturing tolerance when cross-checking flat specs against brand charts.Custom fishing team apparel factories drift, and your sizing math needs room for it.
Sleeve Length and Body Length Get Overlooked
Chest gets all the attention, but sleeve length causes just as many complaints. Short-sleeve baselines run 20"–22.5" across brands , so build in a 0.5" sleeve buffer . Record body length from high-point-shoulder to hem too. Teams commonly miss these fields when measuring for custom apparel.
Audit for Impossible Numbers Before You Submit
A 12-person roster with four XS entries is almost certainly a data-entry error. Scan your sheet for statistical outliers like this before it goes to your supplier. Then send each teammate a quick confirmation message; skipping that step is one of the most common team-order mistakes.
For a 50-shirt order , build in a 5% size variance allowance , roughly 2–3 backup units in your most common sizes, and set a hard submission deadline so late guesses never sneak into your final count.
Conclusion
Most sizing mistakes happen because captains skip the data-collection step and guess instead. Fix that one thing, and the rest follows.
Three things to remember before your next order:
1.Never estimate a size breakdown from memory. Use the collection template. Get real measurements or self-reported sizes with a chart reference. Calculate your ratios from actual numbers, not assumptions.
2.Mixed youth/adult rosters need separate size charts. Don't let a fishing team apparel supplier default you into one universal grid.
3.Get sign-off on the size chart in writing before production starts. That single email saves you from a 3-week reorder cycle.
A proper fishing team uniform sizing chart matters more than picking the "right" fishing team apparel supplier. Grab the template from this guide, run it against your roster this week, and send it to your supplier before your next tournament deadline. Your team's jerseys should fit right the first time.