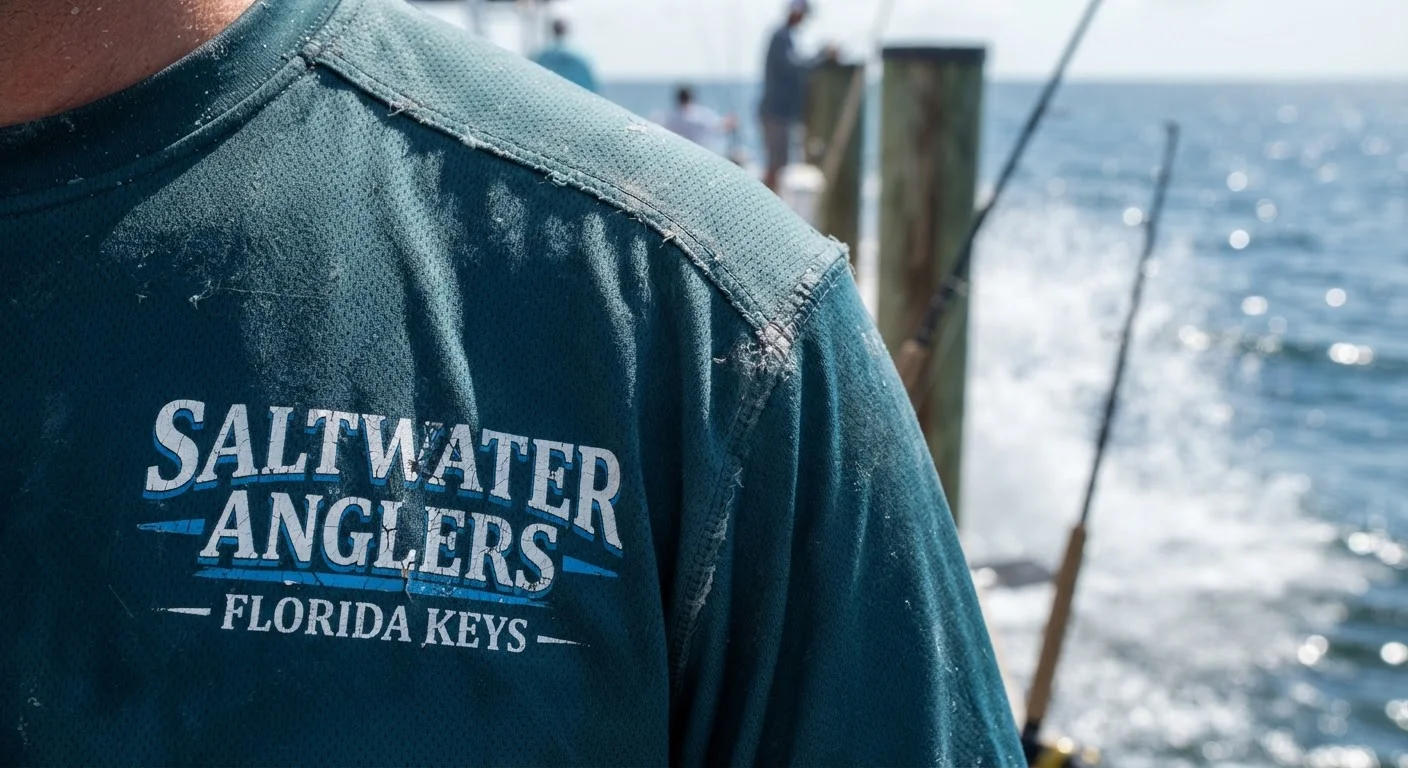
That container leaves the Custom Fishing Apparel factory looking perfect. Three weeks later, it’s sitting in your warehouse and half the UPF-rated hoodies have cracked coating along the seams, the sublimation prints are already fading, and a batch of "medium" tees run closer to small. Now you’re staring down customer returns, a possible platform suspension, and a factory that swears everything passed their internal QC.
Most quality checklists floating around online were written for generic apparel, not the fabric-specific failure points that make fishing gear brutal to inspect. Moisture-wicking polyester that pills after one wash. Sun-protective coatings that crack under real UV testing. Waterproof zippers that leak the moment they’re submerged. This guide skips the theory and hands you the exact inspection sequence a QC manager runs on the factory floor, from fabric roll checks and AQL sampling to UPF verification and carton drop tests. Plus a downloadable checklist you can print and take with you tomorrow.
Pre-Inspection Preparation: Documents, Golden Sample, and Must-Have Tools
Walking onto the Custom Fishing Apparel manufacturer floor without paperwork is how good inspectors miss bad batches. Before you touch a single hoodie, you need three things locked down: the document pack, the golden sample, and a bag of calibrated tools you don't borrow from the factory.
The Document Pack You Bring, Not Ask For
Approved tech pack with construction details, seam allowances, and trim specs
Signed spec sheet listing every measurement point (chest, sleeve, hem, hood) with tolerance ranges
PO and packing list cross-referenced against actual carton count
Color standard or Pantone reference tied to the approved lab dip
AQL sampling standard (usually AQL 2.5 for major defects, 4.0 for minor) with the sample size chart printed out, not memorized
The Golden Sample Is Your Only Truth
One physical sample, approved and signed off before production, becomes your benchmark for everything: fabric hand-feel, sublimation print sharpness, logo placement accuracy, zipper pull quality. Mark it with a tag showing date, revision number, and PO reference. Any disagreement on the floor gets settled by holding the bulk unit next to this sample, not by opinion.
Tools That Go in Your Bag
Digital calipers (±0.02mm) for zipper teeth and snap dimensions
Fabric tape measure for garment measurements
Pantone color cards for on-site color fastness testing comparison
A UPF-rated fabric swatch reference (if lab testing isn't available on-site)
Bench scale for checking gram weight per square meter on moisture-wicking fabric
Flashlight, because cracked sublimation ink and thin spots hide in shadow
Setting the AQL Sampling Plan and Roll-Based Fabric Inspection
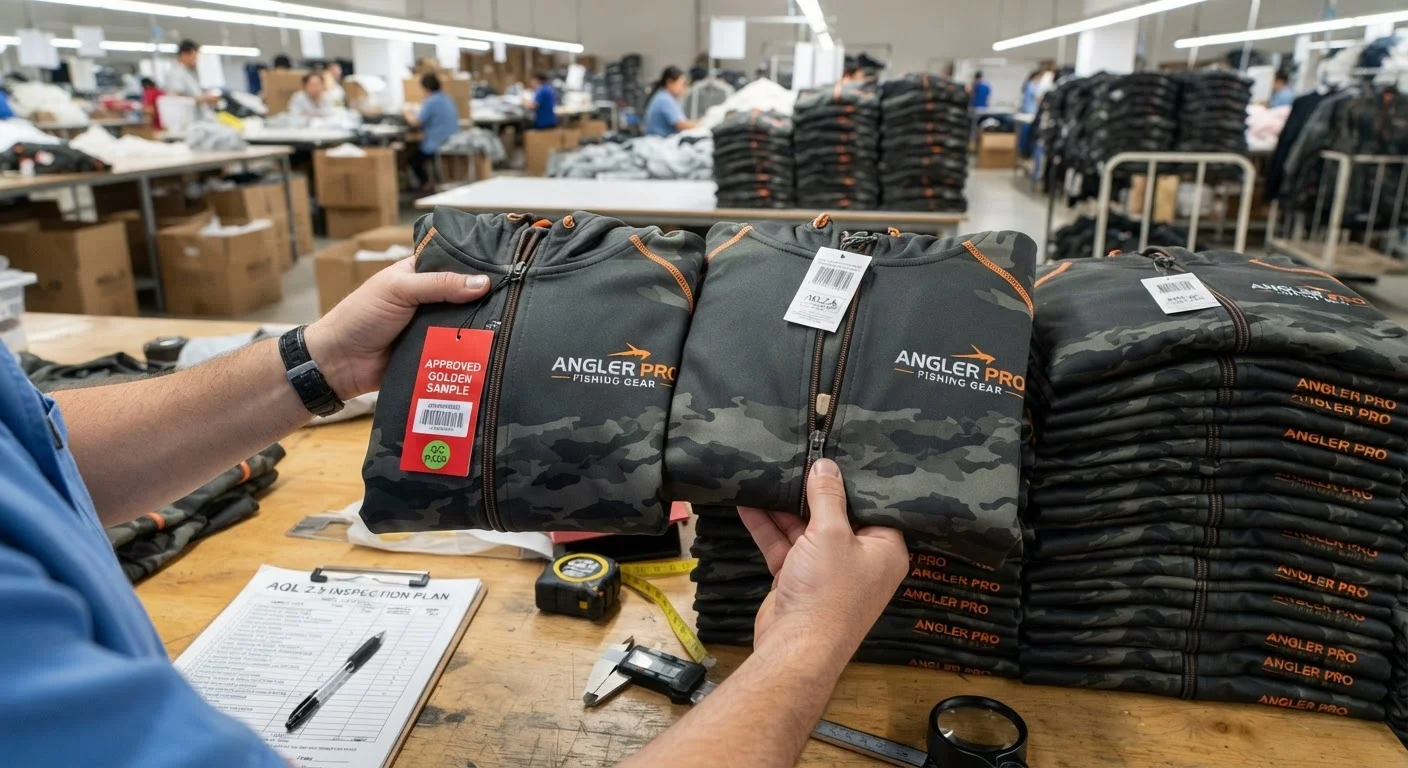
Nobody inspects every unit in a 5,000-piece order. That's what the AQL sampling standard is for. Get it wrong and you're either wasting hours checking too many units or passing a lot that's 15% defective.
How the Sampling Math Works
Most garment and fabric QC runs on ISO 2859-1, the modern version of the old MIL-STD-105D tables. The sequence goes like this:
Determine lot size — say, 1,200 pieces
Pick inspection level — General Level II is standard
Find the code letter — 1,200 units maps to code K
Pull sample size and Ac/Re — code K gives you 80 units to inspect
Defects fall into three buckets. Critical (needles, mold) is an instant fail. Major defects like open seams and holes run at AQL 2.5. Minor issues like loose threads and shading hit AQL 4.0. On a sample of 125, AQL 2.5 gives you an accept number of 7 and a reject number of 8. Seven defects passes. Eight fails.
Fabric Rolls Get Their Own System
Rolls get checked before cutting starts, using the 4-Point System. Defects score 1 to 4 points depending on severity. The benchmark is 40 points per 100 square yards. Go over that and the roll fails.
Pick rolls at random across the whole lot. Grabbing from the top cartons is how Custom Fishing Apparel factories hide defective stock at the bottom.
Visual and Workmanship Inspection: Stitching, Seams, and Neckline
Flip any fishing hoodie inside out and the truth shows up in about ten seconds. This is where sloppy factories get caught.
Neckline Check: The First Thing Buyers Touch
Run your fingers along the neckline before anything else. It should sit flat, smooth, and gradually curved, with no pulling or bulging. Seams need to be graded, corners trimmed, and curves clipped or wedged so bulk doesn't stack up under the collar. Understitching has to be uniform, or the facing will roll out after the third wash. One garment spec sets minimum neck stretch at 28 cm for kids' sizes and 32 cm for adults (half measurement) — stretch it under bright LED or natural light and measure against that.
Seams: Where Stitching Defects Hide
Start with the high-stress zones: shoulders, side seams, armholes, inseams, pockets. Pull-test each one. You're hunting for open or broken seams, skipped stitches, seam slippage, or puckering and curling. Seam allowance over 3/8 inch is a major flag, not a minor one.
Stitch density (SPI) benchmarks by fabric weight:
- Lightweight fabrics: 12–15 SPI
- Mediumweight fabrics: 10–12 SPI
- Heavyweight fabrics: 8–10 SPI
Thread should lie flat, not twisted. Loose threads get trimmed, not left floating. Uneven hem tolerance sits at 0.5 cm for straight grain and 1 cm for bias cut — anything beyond that gets flagged.
Functional Testing: UPF, Moisture-Wicking, Zipper, and Pocket Drainage
A hoodie can pass every seam check and still fail on performance. That’s where fishing hoodies split from generic tees. Custom Fishing Apparel Factory QC teams often cut corners here because it takes actual equipment, not just eyeballs.
UPF Rating Verification
Test under AS/NZS 4399 or AATCC TM 183, measuring UV transmittance across 290–400nm. Run the test both dry and wet. Soak the fabric for 30 minutes, pad to 150% ±5% moisture, then re-test. UPF can shift either direction when wet depending on weave and finish. Never accept a dry-only reading. Aim for UPF 40–50+, blocking 97.5%+ of UV. Anything below 93.3% blocking fails “Good” grade.
Moisture-Wicking Fabric Test
You can do two field checks. For the 30-second absorption test, weigh a 10x10cm swatch dry, place it on a saturated paper towel, then re-weigh. For the permeation kettle test, put a 49°C sponge under the fabric for 1 hour, then measure the grams transferred. Near-zero weight gain means the fabric is hydrophobic, not wicking.
Zipper Function
Waterproof zippers on fishing gear need 500–5,000+ open/close cycles without slider jam or tooth failure. Pull-force should land between 3–10N. Above that, customers complain; below it, the zipper self-opens. For midweight builds, chain strength target is 100–150N.
Pocket Drainage
Fill pockets, hold vertical, time drainage. Pockets that retain over 30–40% water after 60 seconds fail. That’s a real problem for anglers loading wet lures and bait between casts.
Print, Sublimation, and Logo Accuracy Verification
Sublimation prints lie to you on screen. What looks razor-sharp on a monitor can bleed, shift, or ghost the moment it hits actual polyester. So you verify sublimation quality on the real substrate, not the digital mockup.
Color Match and Edge Sharpness
Pull out your Pantone guide or a sublimation-specific color chart printed on the same fabric type. Hold it against the shipped garment under bright, even lighting. Industry tolerance for commercial print sits at ΔE 2.0–3.0, and brand-critical work demands ΔE below 2.0. One study on branded textiles measured cotton shirts at ΔE 1.35 — that's the benchmark to chase.
Check edge sharpness with a magnifying glass. Look for blur, bleed, or broken outlines on small text and thin emblem lines. Files should've been prepped at 300 DPI minimum for final size.
Logo Placement Accuracy Checklist
Vector logo shape matches master artwork exactly
Text stays legible at actual print size
Placement, scale, and orientation align with the tech pack
No ghosting, banding, or edge fuzziness from the heat press
Durability After Wash and Stretch
Wash a sample inside-out on cold, gentle cycle. Check for fading or distortion. Stretch the fabric and re-inspect the logo. Press settings matter too — sublimation typically runs around 380° f for 30–60 seconds, and inconsistent pressure causes light patches even when temperature's correct.
Dimensional Measurement and Size Specification Check
A "medium" that measures small on paper still ships. That's the trap. The tech pack says one thing, the cutting table interprets it another way, and nobody catches the drift until customers start emailing about tees that shrink two sizes after wash number one.
Measure Before You Trust the Label
Pull the fabric tape and hit every point on the spec sheet: chest width (flat, one inch below armhole), body length (shoulder seam to hem), sleeve length (shoulder to cuff), hood circumference, and cuff opening. For critical dimensions — chest and length especially — take three separate measurements per garment, not one. Custom Fishing Apparel Factories and wholesaler round in their favor when they're rushing.
Tolerance Isn't a Guess
Most fishing apparel specs run ±1cm for body measurements, tighter at ±0.5cm for cuffs and neck openings where fit matters against sun gloves and hoods. Record actual measured value against nominal, then log the deviation. A garment that's +0.3cm might be fine. One at +1.4cm on a ±1cm spec is a clear reject, no debate needed.
Sample Size Follows the Same AQL Table
Pull your measurement sample from the same units already flagged in your AQL sampling plan. No separate draw needed. If 20% of measured units land outside tolerance, stop the line before the rest of the lot ships with the same cutting error.
Color Fastness, Shade Variation, and Fabric Weight Verification
Dye that bleeds onto a customer's boat seat or beach towel turns into a one-star review within days. This is the section factories rush through, because it needs equipment most inspection visits don't budget time for. Don't skip it.
Color Fastness Testing
Run wash fastness under ISO 105-C06 or AATCC 61, condition A1S, at 40°C. Check rubbing (crocking) with a crockmeter under 9N pressure — 10 dry strokes and 10 wet strokes — per ISO 105-X12 or AATCC 8. Grade both against a 5-step grey scale. Minimum acceptable is grade 4 for wash color change, grade 3–4 for staining, and 4 dry / 3 wet for rubbing. Anything at grade 2 means dye transfers onto skin, gear, or other garments in the wash.
Shade Variation Check
Take a spectrophotometer reading under D65 illumination against the lab dip. Target ΔE ≤ 1.5 for bulk versus standard, and tighter at ΔE ≤ 1.0 between garment panels — front, back, and sleeves shouldn't visibly mismatch under a lightbox. Mills group fabric rolls into shade bands (A, B, C) with band width around ΔE 0.5–0.7. Cross-band cutting is how you get one sleeve looking off.
Fabric Weight Verification
Cut a 10×10cm swatch, weigh it, and calculate gsm. Knits tolerate ±5% of spec; heavier wovens and denim tighten to ±3%. A 180gsm quick-dry tee spec should land between 171–189gsm. Outside that range, the fabric feels thinner or heavier than approved, and moisture-wicking performance shifts with it.
Packaging Inspection, Carton Drop Test, and Final Acceptance Criteria
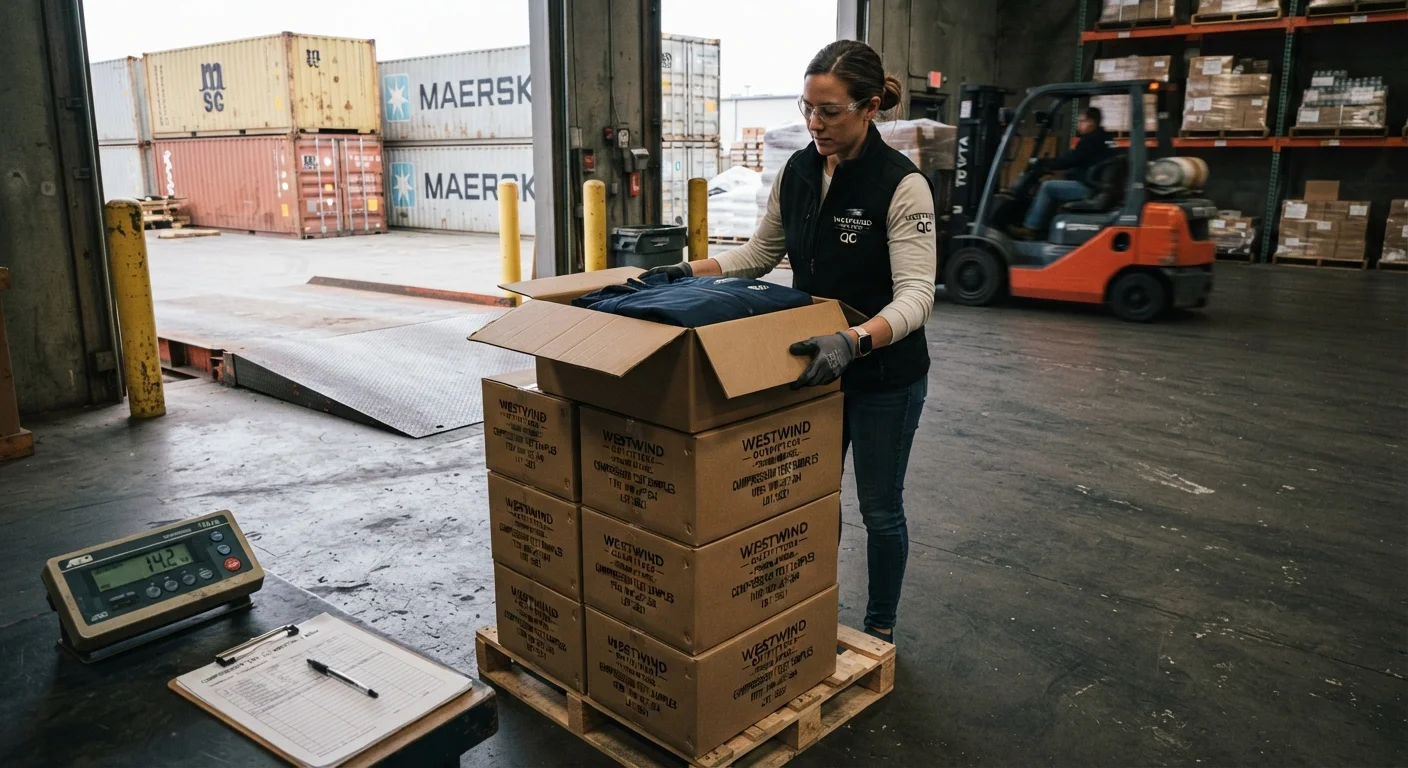
Every quality win from the sewing floor gets erased in a single bad drop off a forklift. This is the last gate before your fishing apparel sits on a container for three to six weeks. Most buyers skip it because it feels like logistics, but it's actually both logistics and quality control.
Carton Dimensions, Weight, and Construction
Measure carton dimensions (L×W×H) against spec. Tolerance runs ±3–5mm per side for standard corrugated master cartons. Weigh the gross carton. Tolerance sits at ±0.5kg or ±2–3%, whichever is stricter. Confirm units per inner and inners per master carton match the packing plan exactly. A common setup is 12 pieces per inner, 4 inners per master, 48 pieces total. Off by even one inner and your count discrepancy shows up at the warehouse, not before.
Check the board grade against spec. 5-ply 32 ECT or 44 ECT is typical for fishing apparel cartons handling humid, coastal freight routes. Flute direction should run vertical for stacking strength. Glue and tape joints need full bonding, no gaps over 3mm along seams. If hand holes exist, they need at least 50mm clearance from top and bottom edges, or they tear under load during hand-carrying.
Seal Integrity and Cushioning
Tape width should measure 48–72mm, or count the PP straps, usually 2 per carton. No open flaps, no broken straps, no lifted tape corners beyond 20mm. Inner cushioning matters more for fishing gear than people assume. Foam corners, side pads, polybags with suffocation warnings all need to match the packing spec. Shake the carton gently. Product movement beyond 25mm inside means insufficient cushioning, and that's how zippers and prints get scuffed in transit.
Shipping Marks, Labels, and Barcode Scannability
Shipping marks need the PO number, item number, color/size breakdown, carton number out of total cartons, country of origin, and quantity per carton. All must be present and legible. Label position tolerance sits at ≤5mm deviation from spec. Scan the barcode at least 3 times with a standard scanner. Zero tolerance for truncation or smudging that fails a scan at the retail or fulfillment center level.
Running the Carton Drop Test
Pull 3–5 fully packed master cartons at random from the lot. If lab conditions apply, condition them at 23±2°C, 50±10% RH for at least 4 hours before testing.
Drop height depends on gross weight:
Under 10kg : 76cm (30")
10–19kg : 61cm (24")
20–29kg : 46cm (18")
30kg and above : 31cm (12")
Most importers default to 76cm for cartons under 20kg when the buyer spec doesn't specify.
The standard sequence hits 10 drop points. It starts with 1 corner (the weakest or heaviest), then 3 edges radiating from that corner, then all 6 faces (top, bottom, two long sides, two short sides). Re-orient the carton before each drop. Drops happen on a rigid steel or concrete surface, not a padded floor that softens the impact and gives you a false pass.
After each drop, inspect for tears, crushed areas, split seams, and tape failure. Carton fails if there's any through-hole in the walls, any seam completely open, or corner crush exceeding 25–30% of original corner height. Product inside must power on or function fully with no critical cosmetic defects on visible surfaces, no cracks or scratches deeper than 5mm. Minor cosmetic damage might pass, capped at roughly 2 minor defects per unit under AQL.
Final Acceptance: Sorting Defects Into Three Buckets
Final acceptance uses the same defect classification logic as your garment inspection, applied to packaging.
Critical defects (zero tolerance)
- Wrong product or quantity inside the carton
- Missing or incorrect warning label
- Unscannable barcode
- Open carton or water damage reaching the garments inside
Major defects (AQL 1.0–2.5)
- Tears or dents over 50mm in the outer carton
- Mislabeling that confuses size or color
- Carton dimension out of tolerance beyond ±5mm, or weight variance beyond ±3%
- Missing inner packaging piece, like a missing foam corner or polybag
Minor defects (AQL 2.5–4.0)
- Light dirt marks that don't affect readability
- Label misalignment between 2mm and 5mm off spec
- Slight print scuffing that still matches brand standard
Sampling follows ANSI/ASQ Z1.4, same family as the AQL sampling standard used earlier for garments. For a lot of 3,201–10,000 cartons at general inspection level II, that maps to sample size code L, 200 cartons pulled and checked. Compare defect count found against the acceptance number for the chosen AQL. Exceed it, and the shipment gets rejected or reworked before it ever reaches the port.
If your program includes compression testing, cartons need to withstand top-load stacking equivalent to 3–5 cartons high, often 400–800kg depending on carton size, with less than 15–20% deflection and no collapse. Treat a failure here as major or critical depending on how the fishing apparel inside is packed.
Conclusion
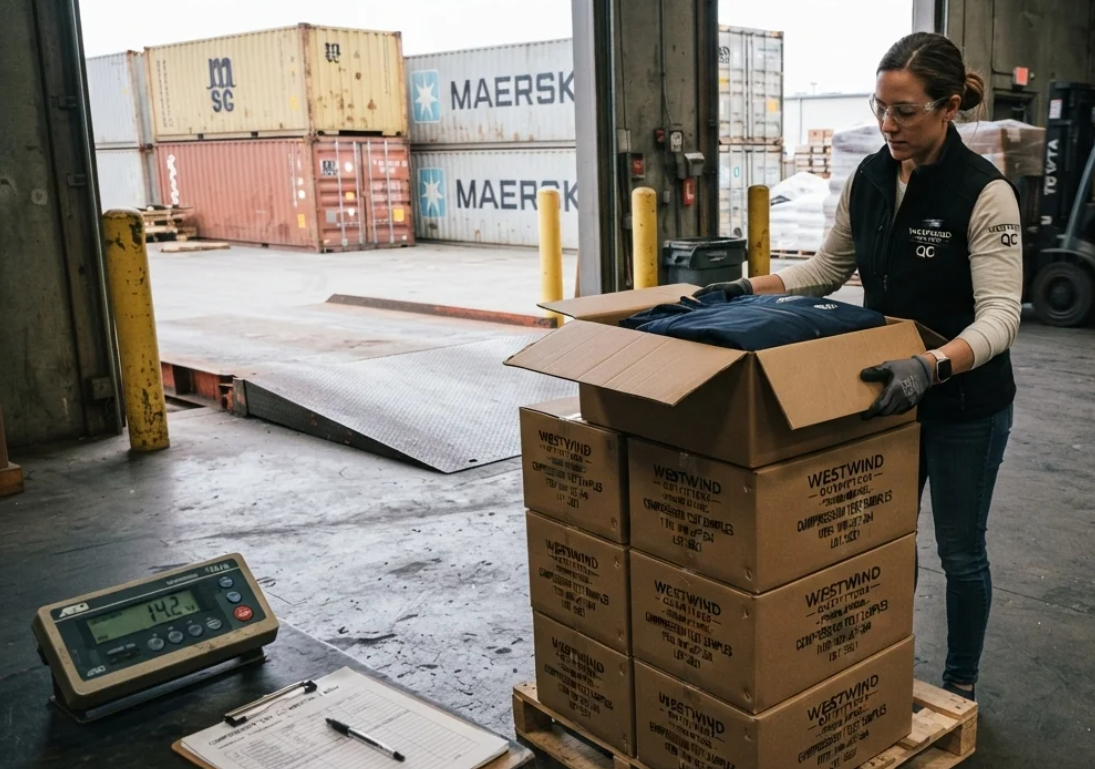
Every experienced QC manager has seen a container get rejected at the port because the factory glanced at the goods instead of inspecting them properly. This checklist closes that gap.
Before your goods leave the production floor, run through the six failure zones: UPF coating cracks, sublimation bleed, zipper seal failure, pocket seam stress, pilling on moisture-wicking fabric, and off-spec fluorescent shades. You're protecting your margins, your Amazon account health, and the reputation you've spent years building with buyers who expect performance gear to actually perform on the water.
Next time you walk the inspection floor, don't trust memory or a mental checklist. Grab the downloadable PDF/Excel version of this exact checklist, print it, hand it to your QC team, or bring it yourself to the Custom Fishing Apparel supplier. Use it on your next batch, and watch your defect rate drop before the container ever gets sealed.